

How To Add A Digital Business Card On Apple Watch?
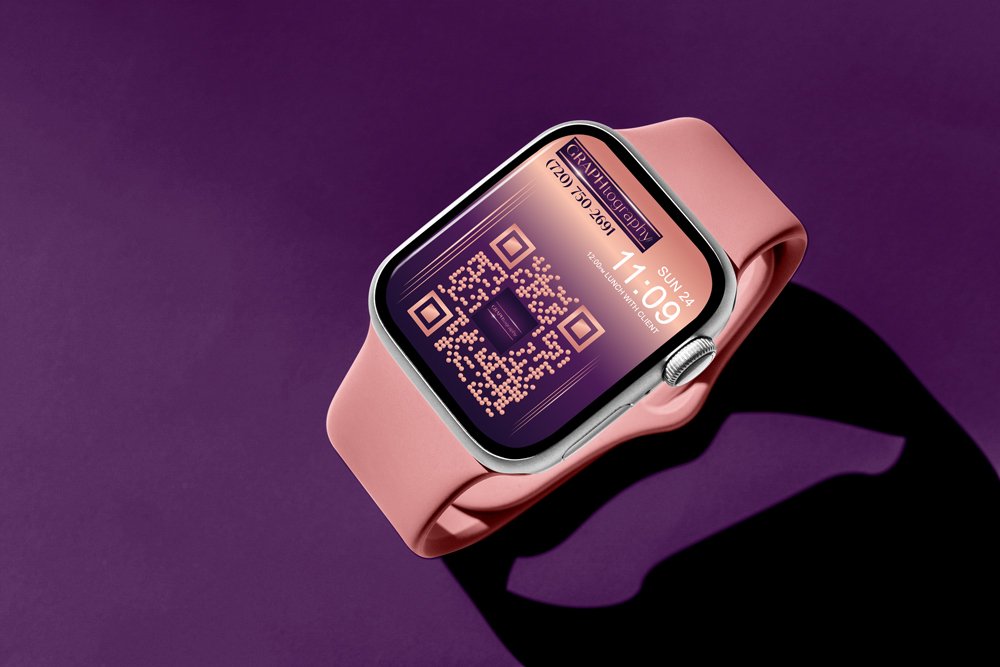
Using a Digital Business Card is not only environmentally friendly but also makes it easy to share your information quickly and efficiently without the need for physical cards. It's a great way to stay connected in our digital age!
Here are the instructions for Adding Your Digital Business Card to your Apple Watch:
1. Download and Save: Before you begin, make sure you have downloaded and saved your Apple Watch Digital Business Card to your iPhone's Photos App. For easier access, tap the heart on the image to save it to your favorites.

2. Open the Apple Watch App: Unlock your iPhone and find the "Apple Watch" app. It usually has an icon that looks like a watch. Tap on it to open the app.
3. Access Face Gallery: At the bottom of the Apple Watch app, you'll see various options. Locate and tap on "Face Gallery."

4. Choose a Sample Watch Face: Scroll down through the available watch face options until you find "Photos." This is where you can customize your watch face with your Digital Business Card.
5. Select "Photos": Under “Content”, Tap on the "Photos" option to open your photos, tap “Albums” on top, then tap on your Favorites album, or whichever album has your QR Code Image.

6. Choose Your Image: Find the Image and tap to select it, then tap “Add” at the top right of your screen.

7. Set Time Position: Scroll down to the "Time Position" section. You can choose either "Top" or "Bottom" depending on where you want your digital business card to appear on the watch face. Make sure it doesn't obstruct the time and date, ensuring sufficient clearance. (Note: during set up and design, we will ask where your preferred Time Position is, so we can design your watch face accordingly).
8. Select Compilations: Customize your watch face by choosing the desired "Compilations" options. These can include complications like weather, calendar, activity, and more. Configure them according to your preferences.

9. Add the Digital Business Card: After configuring the watch face settings, scroll back to the top, and tap "Add." This will add your customized watch face with the digital business card to your Apple Watch.
10. Enjoy Your New Digital Business Card: Once you've added it, enjoy the convenience of having your digital business card readily accessible on your Apple Watch.
If you find that there are clearance issues with your digital business card or it's not displaying correctly on your watch face, you can take a photo of it and send it to us for adjustments. We can then make the necessary modifications based on the time and compilation settings you've chosen for your watch. Our email is Info@GRAPHtography.com
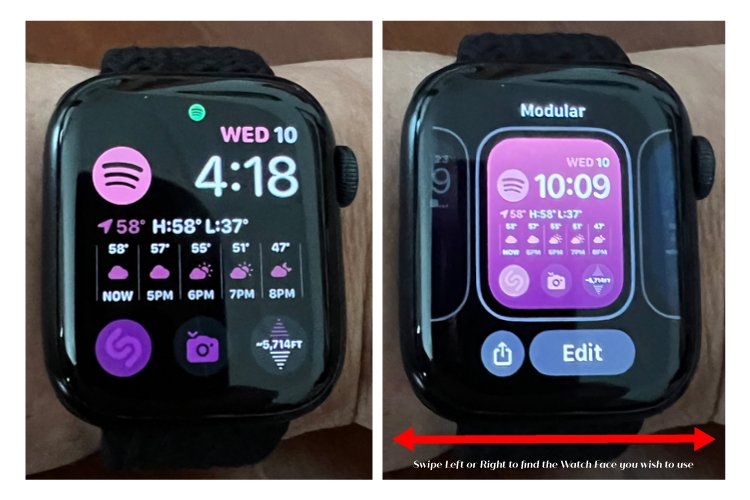
Tip: You don’t always have to have your QR Code displaying on your watch face. If you have a preferred set up, you can still have your Digital Business Card saved for quick access. If you are using multiple watch face set ups and need to quickly get to your QR Code, just long press your Apple Watch screen until it shrinks, this allows you to swipe left or right to switch to other watch face setups.

Tap the Watch Face you wish to use. When you Tap the Watch Face you want displayed, the screen will automatically expand and your new digital business cards will be ready to scan.
Want to Learn How to Add a Digital Business Card to iPhone Lock Screen? Read Instructions Here